Dopo avervi mostrato le ultime spille che ho creato, oggi vi propongo un piccolo tutorial sul come realizzare dei simpatici packaging per confezionare piccoli oggetti, io ad esempio ho impacchettato delle spille che ho spedito alle mie clienti.
Per formare le confezioni ho utilizzato dei ritagli di stoffa, carta, un foglio di plastica e del filo.
Mi è subito piaciuto questo packaging perché permette di creare un simpatico contenitore e consente di riutilizzare i vostri ritagli di stoffa e carta/cartone.
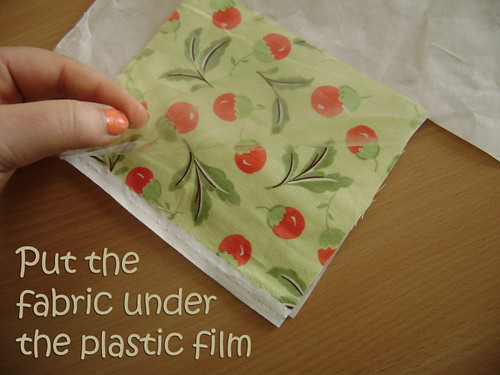
- Prima di tutto sistemate il tessuto tra la carta e il foglio di plastica
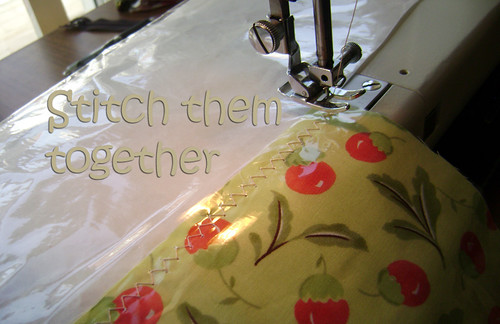
- Selezionate il punto zig-zag e iniziate a cucire assieme gli strati.
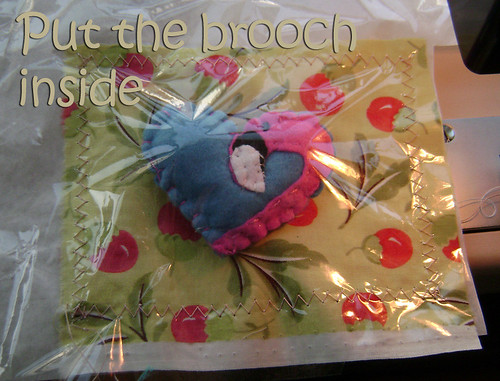
- Cucite i primi tre lati e al quarto inserite la spilla in modo da chiuderla.
- Rifinite il bordo del packaging ritagliando l'eccesso.
...e voilà! Ora non resta che divertirsi e scartare la spilla ^_^
Ora tocca a voi! Se volete mandatemi le vostre versioni a fedulab[at]gmail.com e le posterò qui!
Ora tocca a voi! Se volete mandatemi le vostre versioni a fedulab[at]gmail.com e le posterò qui!
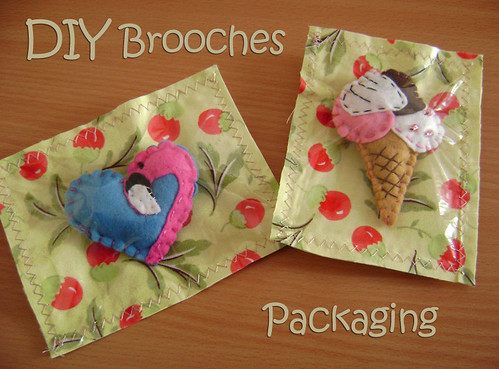

After the post a little while ago about my latest brooches, today I'd go with one small tutorial for a nice packaging for brooches, that I sent to my customers.
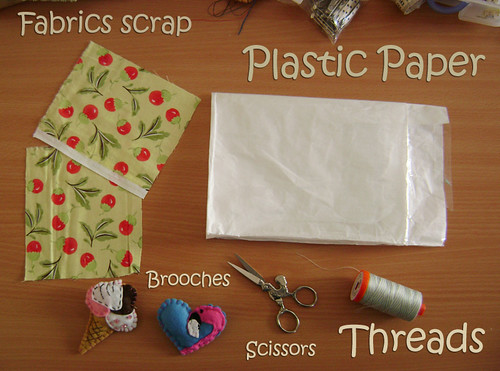
I used scraps of fabrics, paper, a plastic sheet and the thread. I immediately liked this packaging because it's easy and looks rally effective!
- First, place the fabric between paper and plastic sheet
- Select the zigzag stitch and start sewing the layers together.
- Sew the three sides and on the fourth put the pin and close it.
- Now cut the excess of packaging.
and ... voila! Now you just have fun and discard the badge ^ _ ^
I'd love to see your versions, so feel free to email me some pictures at fedulab@gmail.com and I will post them ^_^